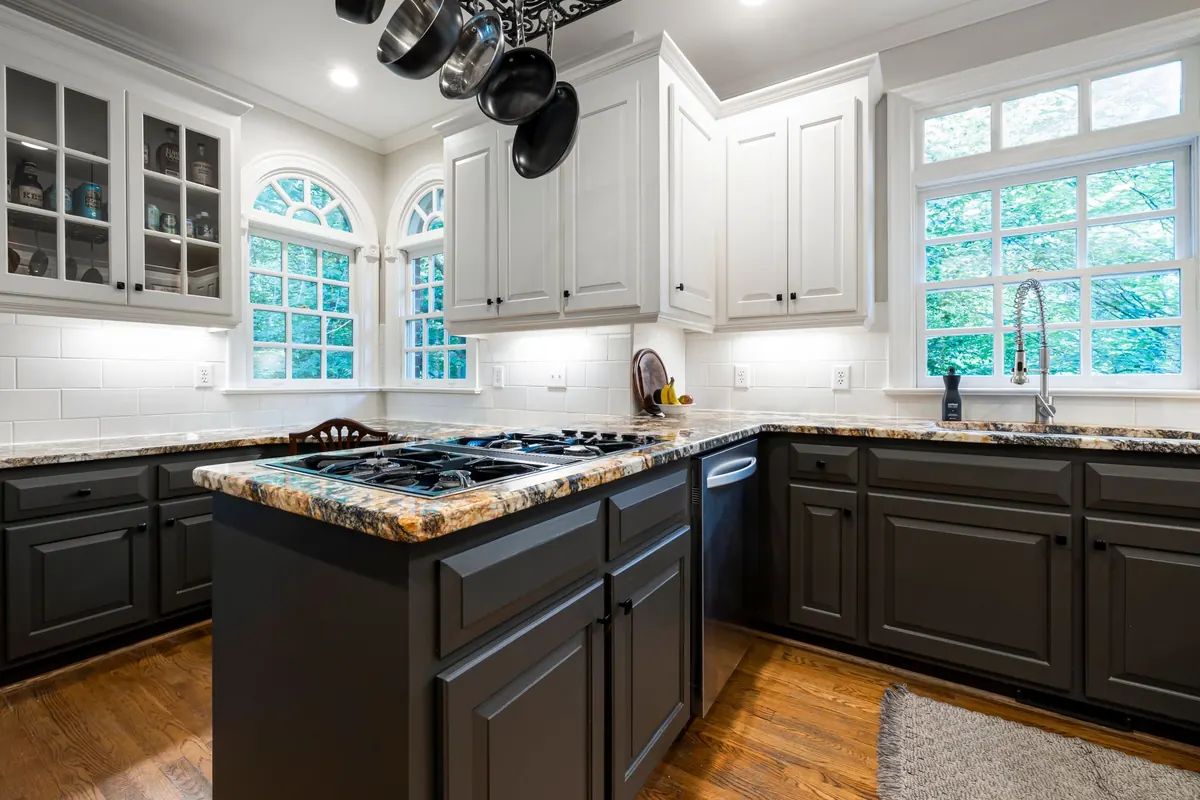
A tin of paint is the cheapest way to change a kitchen. It is also one of the quickest ways to waste a weekend and end up with a finish that chips, peels or looks patchy by spring.
The difference between a result that looks professional and one that disappoints rarely comes down to how steady your hand is. It comes down to preparation, patience, and choosing the right product for the surface you actually have.
These are the mistakes that turn up again and again — and what to do instead.
Underestimating Kitchen Grease
Every kitchen carries a fine film of cooking oil. It settles on door fronts, drifts upwards towards wall units, and builds up around handles where hands land. You cannot always see it, and that is the problem.
Paint will not grip a greasy surface. It may look fine on the first day and then peel away in sheets once the kitchen is back in use.
Wash everything with a warm sugar soap solution before you do anything else. Work it into the grain and the mouldings with a cloth or a soft brush, paying attention to the underside of wall units, the top edges of doors, the recesses around handles, and the panels closest to the hob. Rinse with clean water, then let everything dry completely.
The common shortcut is to assume sanding will deal with it. It will not. Sanding over grease simply pushes the residue around and clogs your paper within minutes.
Painting Doors While They Are Still Hanging
It is tempting to leave the doors on and work around them. Resist it. Vertical surfaces encourage runs and sags, you cannot see the whole face while you work, and you will inevitably lean a wrist against wet paint on the frame.
A better approach:
- Number each door on the inside with masking tape so it goes back in the right place.
- Keep the screws and hinges for each door in a separate labelled bag or a muffin tin.
- Lay doors flat on trestles or blocks so the edges are not sitting in newspaper.
- Work in batches — half the doors at a time — so the kitchen stays usable.
Painting flat lets the paint level itself and gives you a clear view of every drip and thin patch.
Choosing Paint by Colour Rather Than Chemistry
This is where a lot of jobs quietly fail. Kitchen units need a hard-wearing, washable finish. A colour you love on a wall may be completely wrong on a cupboard door.
- Matt emulsion: fine on walls, poor on units. It marks easily and does not stand up to wiping.
- Water-based eggshell or satin: the sensible all-rounder. Low odour, reasonably quick drying, wipeable once cured.
- Water-based alkyd or hybrid paints: harder wearing and they flow out well, with easier clean-up than traditional oil.
- Oil-based gloss: tough and glossy, but slow to dry, strong smelling, and prone to yellowing over time. It also needs white spirit.
- Specialist cabinet paints: formulated for exactly this job. More expensive, but forgiving of amateur technique.
Sheen matters as much as colour. Satin and eggshell hide small imperfections and wipe down well. High gloss shows every ripple and brush mark in the old finish beneath it.
Primer is not optional. Melamine, MDF and thermofoil doors need a bonding or bridging primer to give the topcoat something to hold. Old gloss, varnish or stained wood needs sanding plus an appropriate primer. Skipping this stage is the single most common reason for paint flaking off within a year.
Skipping the Key and Painting Over Dust
Sanding is not about stripping the old finish. It is about giving the new paint a surface it can grip. A light scuff with 120 to 180 grit, or a fine sanding sponge in the mouldings, is usually enough.
Between coats, de-nib any rough spots once the paint is properly dry, using fine paper or a finishing pad. Then deal with dust properly: vacuum the room, cover worktops, and wipe the doors down with a damp microfibre cloth followed by a tack cloth.
Dust settling in wet paint is the most frequent cause of a gritty, slightly rough finish. It is also entirely avoidable.
Recoating Before the Paint Is Ready
Paint that is dry to the touch is not ready for another coat. If you apply the second coat too early, the brush drags through soft paint, leaves ridges, and can lift the layer underneath.
Follow the tin, but read it in context. In a warm, well-ventilated kitchen, many water-based paints can be recoated within a few hours. Oil-based products often need overnight or longer. If you paint in the evening, leave it and come back in the morning rather than trying to squeeze in a second coat.
Refitting is the other trap. Doors and drawers handled too soon pick up fingerprints and smudges that will not wipe out. Allow at least a few days for water-based paints before refitting, and longer for oil-based. Full cure takes considerably longer than that, so avoid scrubbing or strong cleaners for the first couple of weeks.
Ignoring What British Weather Does to Paint
Kitchens are damp rooms at the best of times. Kettles, boiling pans and a busy extractor all add moisture to the air. Add a cold snap and a spare bedroom with no heating, and your paint can stay soft for days.
Get the Conditions Right
Let the paint and the room reach normal room temperature. Cold paint is thick and does not level properly, so stand the tins in the house for a day before you start. Keep a window slightly open for airflow, but avoid a damp, misty day blowing straight onto wet doors.
A dehumidifier in the drying room helps enormously, and so does a fan on a low setting to keep air moving gently. What you want to avoid is direct heat — a radiator or fan heater aimed at fresh paint will skin the surface while the layer beneath stays soft.
Finally, do not paint while the kitchen is in full use. Steam from cooking and hot water undoes good work, and it is far easier to be patient than to sand back a failed finish.
Small Technique Errors That Show Up Later
Most of these are easy to correct once you know about them. Load the brush with roughly a third of the bristles and tap off the excess — thin coats always beat thick ones. Do the recessed panel edges first, then lay off the whole door in long, even strokes so the paint flows in one direction.
Do not forget the top and bottom edges of each door. Moisture creeps into unprotected MDF and causes swelling that no amount of paint will disguise afterwards. Check the bottom edge for drips after every coat.
Keep a small jar of your chosen colour, labelled with the brand, finish and date. Kitchen cabinets take knocks, and a five-minute touch-up in two years' time is much easier than repainting a whole run of doors.
Plan the Job Before You Open the Tin
Give yourself two weekends rather than one. Use the first for cleaning, sanding and priming, and the second for two finish coats, with a few days of drying before the doors go back on. Work in batches so the kitchen never becomes unusable, and keep the room tidy between stages.
It is also worth being honest about what paint can fix. A tired colour or worn finish is an ideal candidate. Swollen chipboard, water damage, or veneer that is already lifting are not — those need a joiner's eye before any paint goes near them.
Ventilate properly throughout, wear a mask when sanding and gloves when handling solvents, and keep children and pets out of the drying area. If your home predates the 1960s, there is a chance that earlier lead-based paint sits beneath later coats; do not sand it dry, and take advice from your local authority or a specialist before you start.
Get the preparation and the drying right, and the painting itself becomes the easy part.
Photo: Curtis Adams / Pexels